Transform Your Raspberry Pi Into a Personalized Image Display System - Detailed Tutorial Inside
Transform Your Raspberry Pi Into a Personalized Image Display System - Detailed Tutorial Inside
Quick Links
- Why Build Your Own Slideshow Machine
- Choosing the Right Tools
- Building Your Slideshow Machine
- Customizing Your Slideshow
- Unleashing Your Inner Tech Guru
Unlock the joy of DIY electronics and showcase your favorite photos by crafting your own slideshow machine with a Raspberry Pi. Creating your own digital photo frame is cheaper than retail options and doesn’t require uploading personal photos to a cloud storage service.
Why Build Your Own Slideshow Machine
By building your slideshow machine (digital photo frame), you’ll learn new skills and save money compared to buying pre-made products. Not only is the hardware most likely cheaper, but there are no subscription fees for storing photos in a cloud service. Speaking of: the DIY version is also great for privacy, as you can keep all the photos stored locally.
If the practical reasons aren’t enough, you’ll also get the satisfaction of creating a personalized device that does exactly what you want it to do. Building a slideshow machine with a Raspberry Pi is a rewarding DIY project, and we’ll show you how to do it.
Choosing the Right Tools
Selecting the Perfect Raspberry Pi Model
The most important part of this project is choosing the right Raspberry Pi . For this project, the Raspberry Pi 4 Model B is a great choice, as it is a powerful device at an affordable price. However, if you can’t get your hands on an RPi 4, a Raspberry Pi 3 Model B+ will work well for slideshows, though you’ll lose some power and performance.
Some Sort of Display or Projector
Next, you’ll need something to display the photos on. Depending on your situation, you could go for a projector or a display. A small 10-inch monitor would be a great choice if you’re trying to create your own digital photo frame. There are also plenty of affordable projectors to choose from if you want to display photos for a party.
Essential Software to Get Started
If you want to turn your Raspberry Pi into a slideshow machine, you’ll need the following pieces of software: Raspberry Pi OS (the official OS for the Raspberry Pi), the Feh image tool (which provides the slideshow), and the Raspberry Pi OS terminal (which will be used to craft your custom slideshow). We’ll walk you through acquiring the software.
Building Your Slideshow Machine
Here’s how to build your new Raspberry Pi-powered slideshow machine. First, download the Raspberry Pi Imager tool from the official website (the app supports Windows, Mac, and Linux) and install it. After installing the software, find the “Choose Device” button and select the Pi 4 (or whichever Pi model you choose to go with). Once you’ve chosen your device in the app, find “Choose OS” and select “Raspberry Pi OS.” Finally, select “Choose Storage” and select the SD card inserted into your computer.
When the SD card is finished in the Raspberry Pi imager, remove the SD card from your computer, insert it into the Pi, connect the Pi to the display device, connect your keyboard and mouse, and turn it on.
Once turned on, open up the Raspberry Pi OS terminal via the application menu. With it open, run the following commands to ensure your system is up-to-date:
sudo apt update
sudo apt upgrade -y
After upgrading, it is time to install the Feh image display tool. You can quickly install this app using the command below:
sudo apt install feh
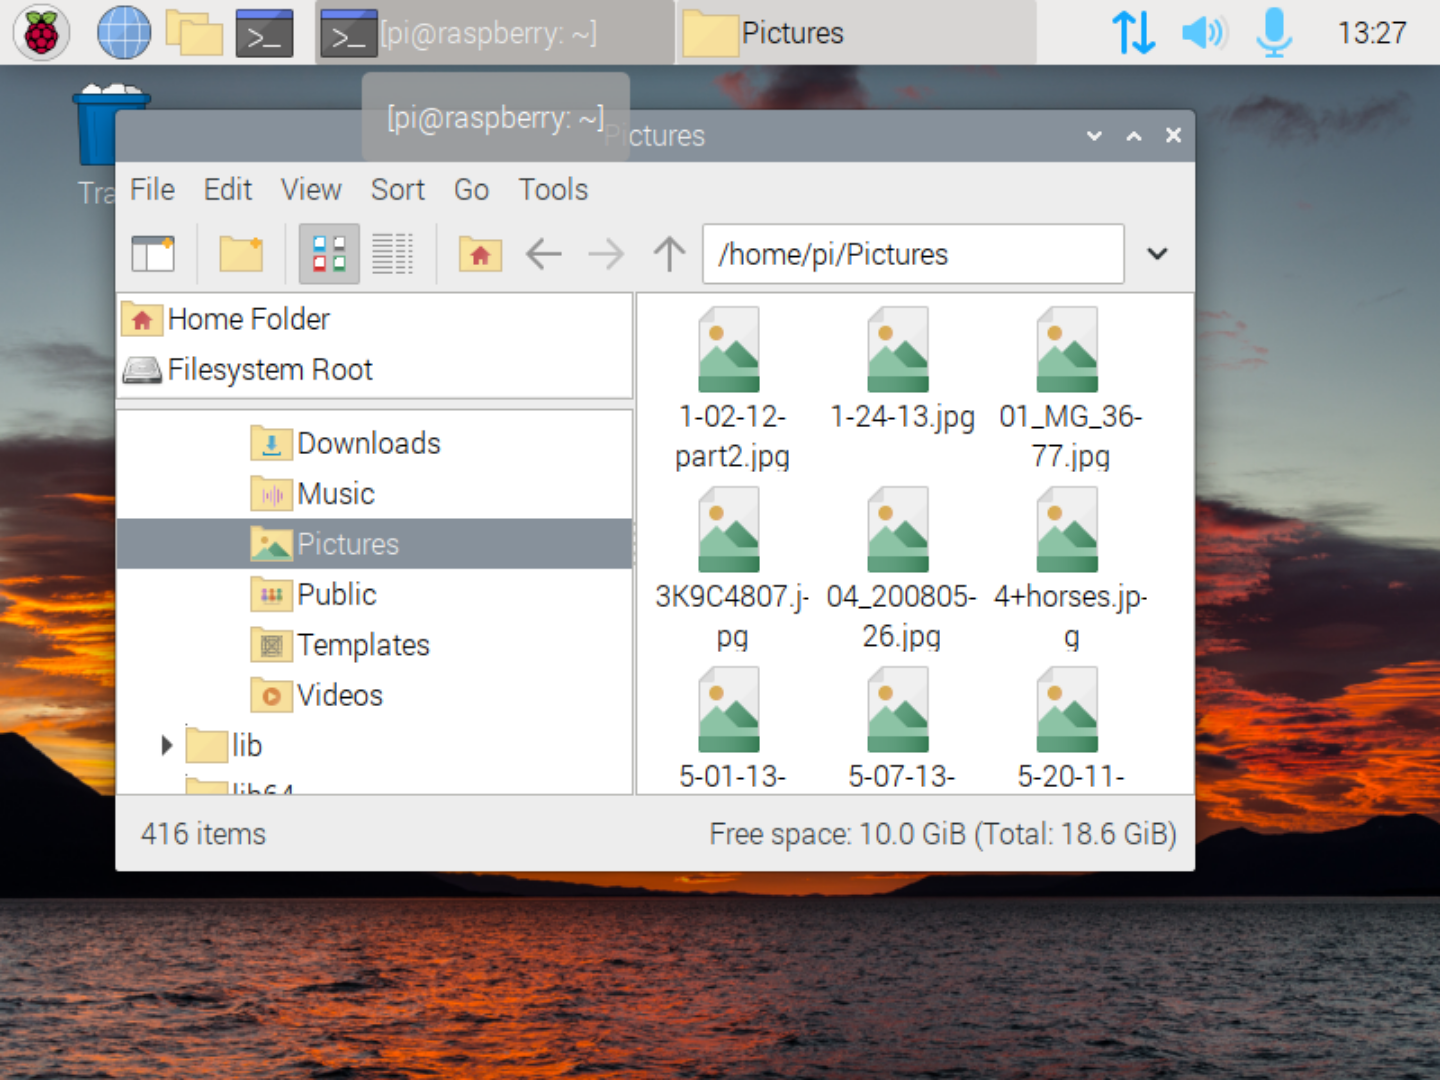
Once you’ve set up Feh, open up the Raspberry Pi OS file manager and add your photos to the “Pictures” directory. You may need to connect a USB device to do this if your photos are on a USB storage device.
You’ll now need to create a LightDM session that will display your slideshow:
sudo nano /usr/share/xsessions/slideshow.desktop
Paste in the following code in the Nano text editor by pressing Ctrl + Shift + V.
[Desktop Entry]
                Name=Slideshow


                Comment=Start a slideshow with Feh


                Exec=/usr/share/xsessions/start-slideshow.sh


                Type=Application
Save the file in Nano by pressing the Ctrl + O button combination. You’ll then need to create the “start-slideshow.sh” script. This script file handles your slideshow.
sudo nano /usr/share/xsessions/start-slideshow.sh
Paste the following code into the Nano editor with Ctrl + Shift + V. You may need to change “pi” to your username if it is different.
#!/bin/bash
                xset -dpms # Disable DPMS (Energy Star) features.


                xset s off # Disable screen saver.


                xset s noblank # Don't blank the video device.


                feh --fullscreen --hide-pointer --randomize --slideshow-delay 5 /home/pi/Pictures/
Save the edits to the script by pressing the Ctrl + O keyboard combination. Then, make the script executable with the command below:
sudo chmod +x /usr/share/xsessions/start-slideshow.sh
Next, you must change the default login theme. The default one for Raspberry Pi OS doesn’t support changing login sessions and only logs into the Pi desktop.
First, you’ll need to create a script file. This script file will automatically change settings to configure LightDM, so you don’t need to enter dozens of commands.
sudo nano ~/lightdm-changer.sh
Inside Nano, paste the following code:
#!/bin/bash
                # Update the package list


                sudo apt-get update


                # Install lightdm-gtk-greeter


                sudo apt-get install -y lightdm-gtk-greeter


                # Backup the current LightDM configuration file


                sudo cp /etc/lightdm/lightdm.conf /etc/lightdm/lightdm.conf.bak


                # Configure LightDM to use lightdm-gtk-greeter


                sudo bash -c 'cat <<EOL > /etc/lightdm/lightdm.conf


                [Seat:*]


                greeter-session=lightdm-gtk-greeter


                EOL'


                # Edit the lightdm-gtk-greeter configuration file


                sudo bash -c 'cat <<EOL > /etc/lightdm/lightdm-gtk-greeter.conf


                [greeter]


                show-indicators=~language;~session;~power


                EOL'


                # Restart LightDM to apply the changes


                sudo systemctl restart lightdm


                echo "Configuration complete. lightdm-gtk-greeter has been installed and configured."
Save the script by pressing Ctrl + O on your keyboard. You can then make it executable:
sudo chmod +x ~/lightdm-changer.sh
Run the script and it will change the login screen from the basic Pi one to a more full-featured one that will allow you to select different sessions.
sudo sh ~/lightdm-changer.sh
Running this script will install an alternative login screen (greeter) for the Pi, back up the current configuration, configure the LightDM configuration file to use the new login screen, and restart the login manager all in one go.
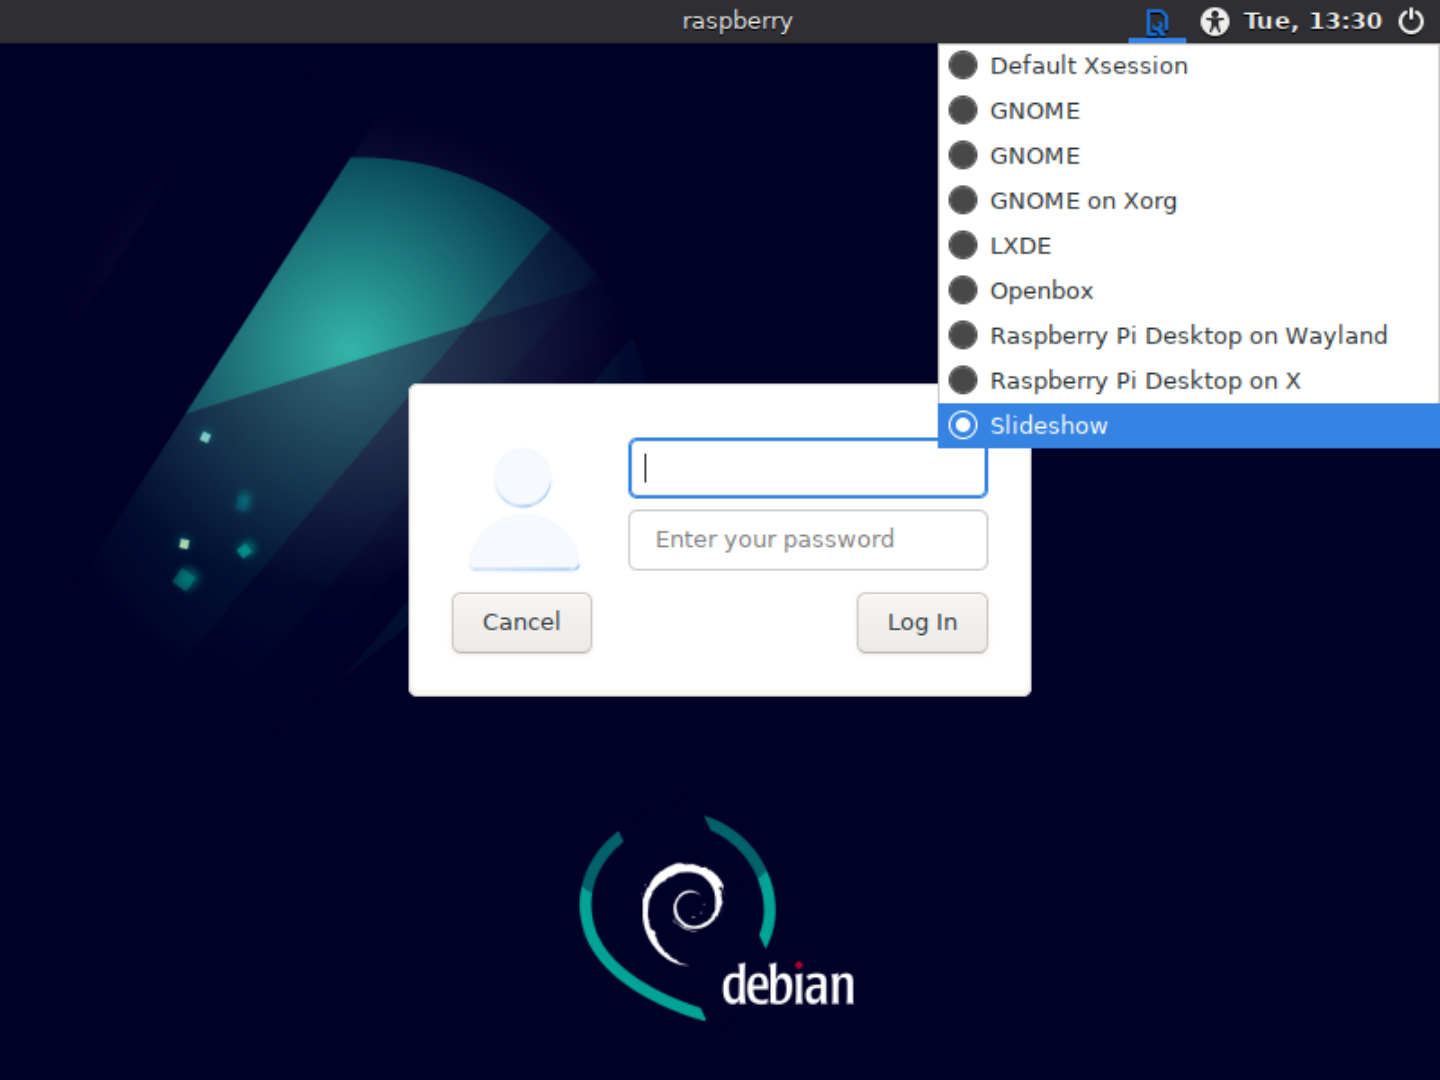
Once the script restarts the login screen (LightDM), you’ll be logged out. From here, select “Slideshow” from the session menu and log in. When you log in, your slideshow will commence.
Customizing Your Slideshow
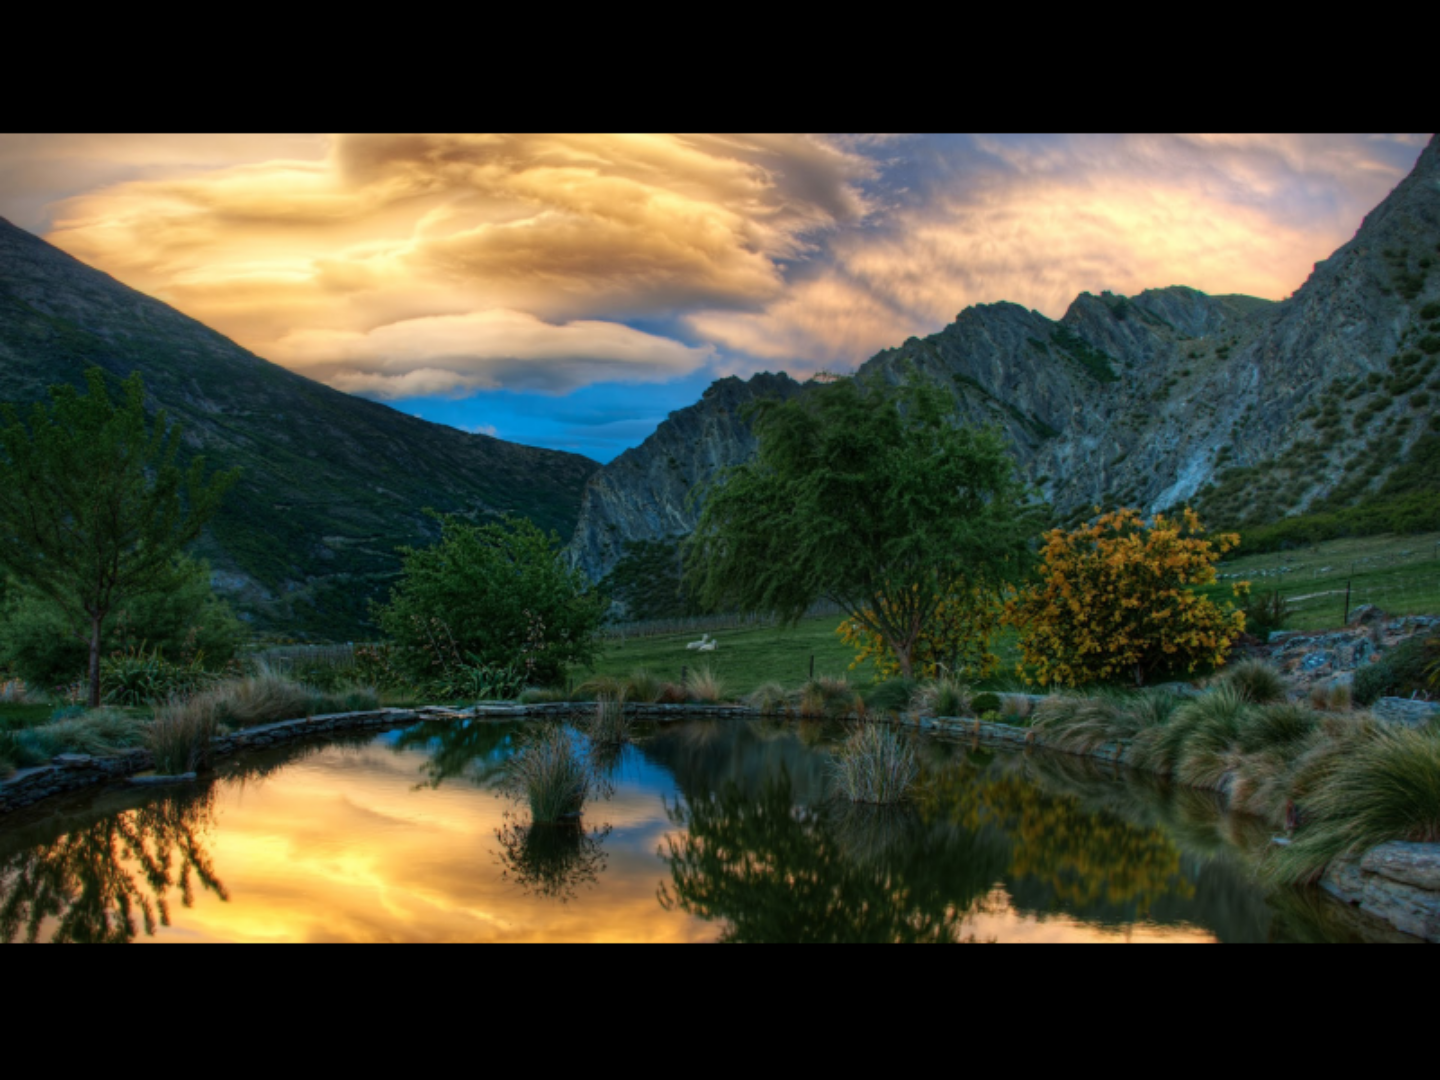
The slideshow script looks for images inside the “Pictures” folder on the Pi. To load up images, simply play JPGs and PNGs directly into “Pictures.”
If you wish to customize your slideshow, start by opening up the script that handles the slideshow on your Pi.
sudo nano /usr/share/xsessions/start-slideshow.sh
You can customize the following aspects of the slideshow: enable/disable randomization and change delay time before image changes.
To disable randomization, find the command below in the script:
feh –fullscreen –hide-pointer –randomize –slideshow-delay 5 /home/pi/Pictures/
Remove “–randomize” to disable randomization in the slideshow.
If you want to increase (or decrease) the delay in which the pictures change (the default is 5), locate “5” in the command and increase or decrease it. When you’ve finished customizing your slideshow settings, press Ctrl + O to save your edits and Ctrl + X to close Nano.
Unleashing Your Inner Tech Guru
Why settle for expensive off-the-shelf solutions to display your favorite photos when you can create your own? Building a slideshow machine with a Raspberry Pi is a fantastic way to dive into the world of DIY electronics. Dive in, experiment, and experience the joy of making your own custom slideshow display. By embracing your inner tech guru, there’s no telling what you can achieve!
Also read:
- [New] 2024 Approved Market Prowess The Art of Strategy Unpacked
- [New] In 2024, Securing Your Gaming Moments with Windows 11
- [New] YouTube Film Creation Guide & Other Options
- 2024 Approved Unmatched 8 VR Equipment Companion Guide
- Easy Steps for Creating Subtitles in MP4 Videos While Preserving Quality
- Efficient Hashtag Use for Skyrocketing YouTube Audience
- In 2024, Integrate Soundtracks with PPT Visuals
- Leap Into the New Era with iOS 15
- Mastering the Market with a Samsung Galaxy Note 9 Walkthrough: Why It's the Top Choice in Large Display Phones
- Maximizing Your Viewing Experience on a Budget: The In-Depth Review of Hisense's 50H8F Screen
- Mobvoi Ticwatch Pro 4G In-Depth Analysis: A Standout Option for Seamless Online Connectivity on Your Wrist
- Mophie's Top-End Powerstation AC: An Affordable Choice for Easy Charging on the Go
- Petcube High Definition Pet Viewing on a Shoe String Price
- Prioritizing Features for an Ideal Smart TV
- Top Windows 10 Tips For Maximum Productivity for 2024
- Title: Transform Your Raspberry Pi Into a Personalized Image Display System - Detailed Tutorial Inside
- Author: Steven
- Created at : 2025-02-18 01:31:15
- Updated at : 2025-02-20 03:46:54
- Link: https://buynow-marvelous.techidaily.com/transform-your-raspberry-pi-into-a-personalized-image-display-system-detailed-tutorial-inside/
- License: This work is licensed under CC BY-NC-SA 4.0.